
I have always been a foodie. I loved food, the smell of it and how it's presented. I mentioned one time that I would have wanted Hubert Keller to be my uncle, Tony Bourdain to be one of my really close relatives and yes Chef Gordon Ramsay to teach me how to cook gnocchi. Shoot! I forgot Raymond Blanc who has been my favorite since I watched his TV series. Heck, he can be one of my uncles as well. :P Food porn is everywhere. Be it the surprise warm creamy delight of a hot peach mango pie or the wonderful play of textures of your favorite pizza. The sight of food, the smell of it brings me closer to foodgasm. If there is such a term.
I think when one bakes, it also a given that one can cook. There have been a lot of trial and error when it comes to cooking. The only wonder that helped me out in my foodventures is in fact Google! Yes, you read it right! From recipes of my favorite Red Velvet Cake to the ultimate Baby Back Ribs.
This would be my first post on my fool proof food recipes.
BABY BACK RIBS
We tried the hotpot version, which would take about 45 minutes of boiling the ribs on a pot filled with water and spices (black pepper, bay leaves, salt and pepper corns) it would take about 50 minutes to almost 1 hour and 15 minutes to get the ribs tender. It consumes a lot of gas and it does not really create a tender, fall out of the bone ribs after grilling. I guess the boiling removes the juices from the meat. What we do is bake the meat for 2 hours on the oven on low heat. This cooks the meat to the bone and ensures that juices are still intact.
I have had my share of good and not so good barbecue sauces. The first time we tried making our own slab at home, we used a peanut based sauce. It did produce a nice colored meat however, it was bordering on nutty. Something that wasn't really appealing to my taste buds. I was glad we were able to use everything up before we moved on to the next sauce we purchased from the grocery. I saw a sale on sauces and it was a total deal! It was HUNT's if I might add! I choose the Hickory variety. I wanted to have a slight taste of smokiness on my protein.
The sauce was a delight! I will show you the comparison between our first sauce and with the new one to give you something to look at.
INSERT PHOTO OF OLD SAUCE AND NEW ONE>
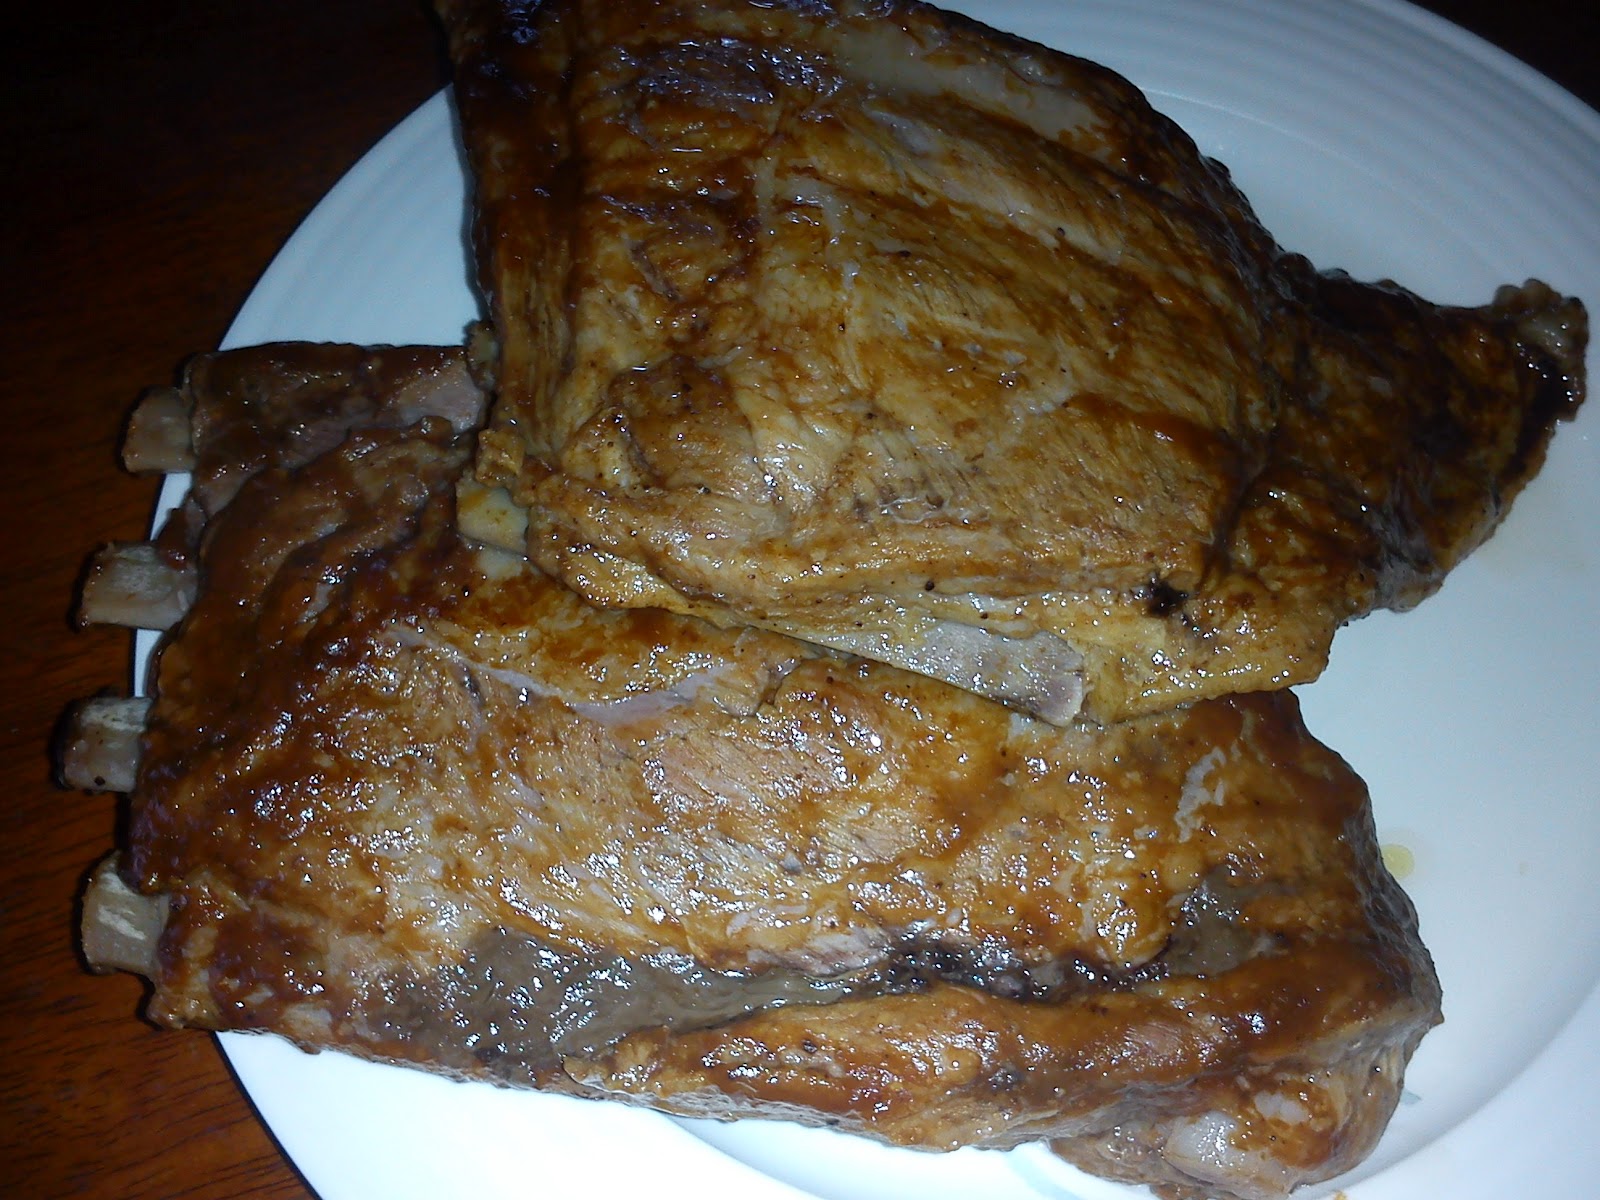
ALSO INSERT PHOTO OF RIBS WITH WATER and ON THE OVEN>
You don't need much for this recipe.
Here's what you will need:
Ingredients:
- baby back ribs
- barbecue sauce
Equipments:
- baking pan
- aluminum foil
- brush for basting
- charcoal for grilling
- tongs
- grill or modified version
- plate
- oven
- timer/stopwatch your celphone
Procedure:
1. Clean the meat very well, remove as much as you can possibly do. Have the ribs drip for a few minutes before placing them on your baking pan.
2. On the baking pan, brush all the corners of the meat with your chosen bbq sauce. Do this for both sides. Once done, place a small amount of water on the pan to create a small flood of water. Make sure not to fill the pan, just enough to avoid burning of the meat that touched the bottom of the container.
Cover with aluminum foil.3. Bake this at 180 F for 2 hours. We tried baking them for 2 and a half hour, it produced a fall out of the bone ribs however I had a hard time grilling them cause they were so tender! The meat fell out of the bone and landed on the embers. 2 hours is enough. It has the right tenderness and juiciness to it. Time it and wait.
4. In between you and waiting for the ribs to be done, you can start cooking your other dishes or cooking rice. Heck, you can even watch 2 episodes of Games of Thrones and it would be worthwhile! :)
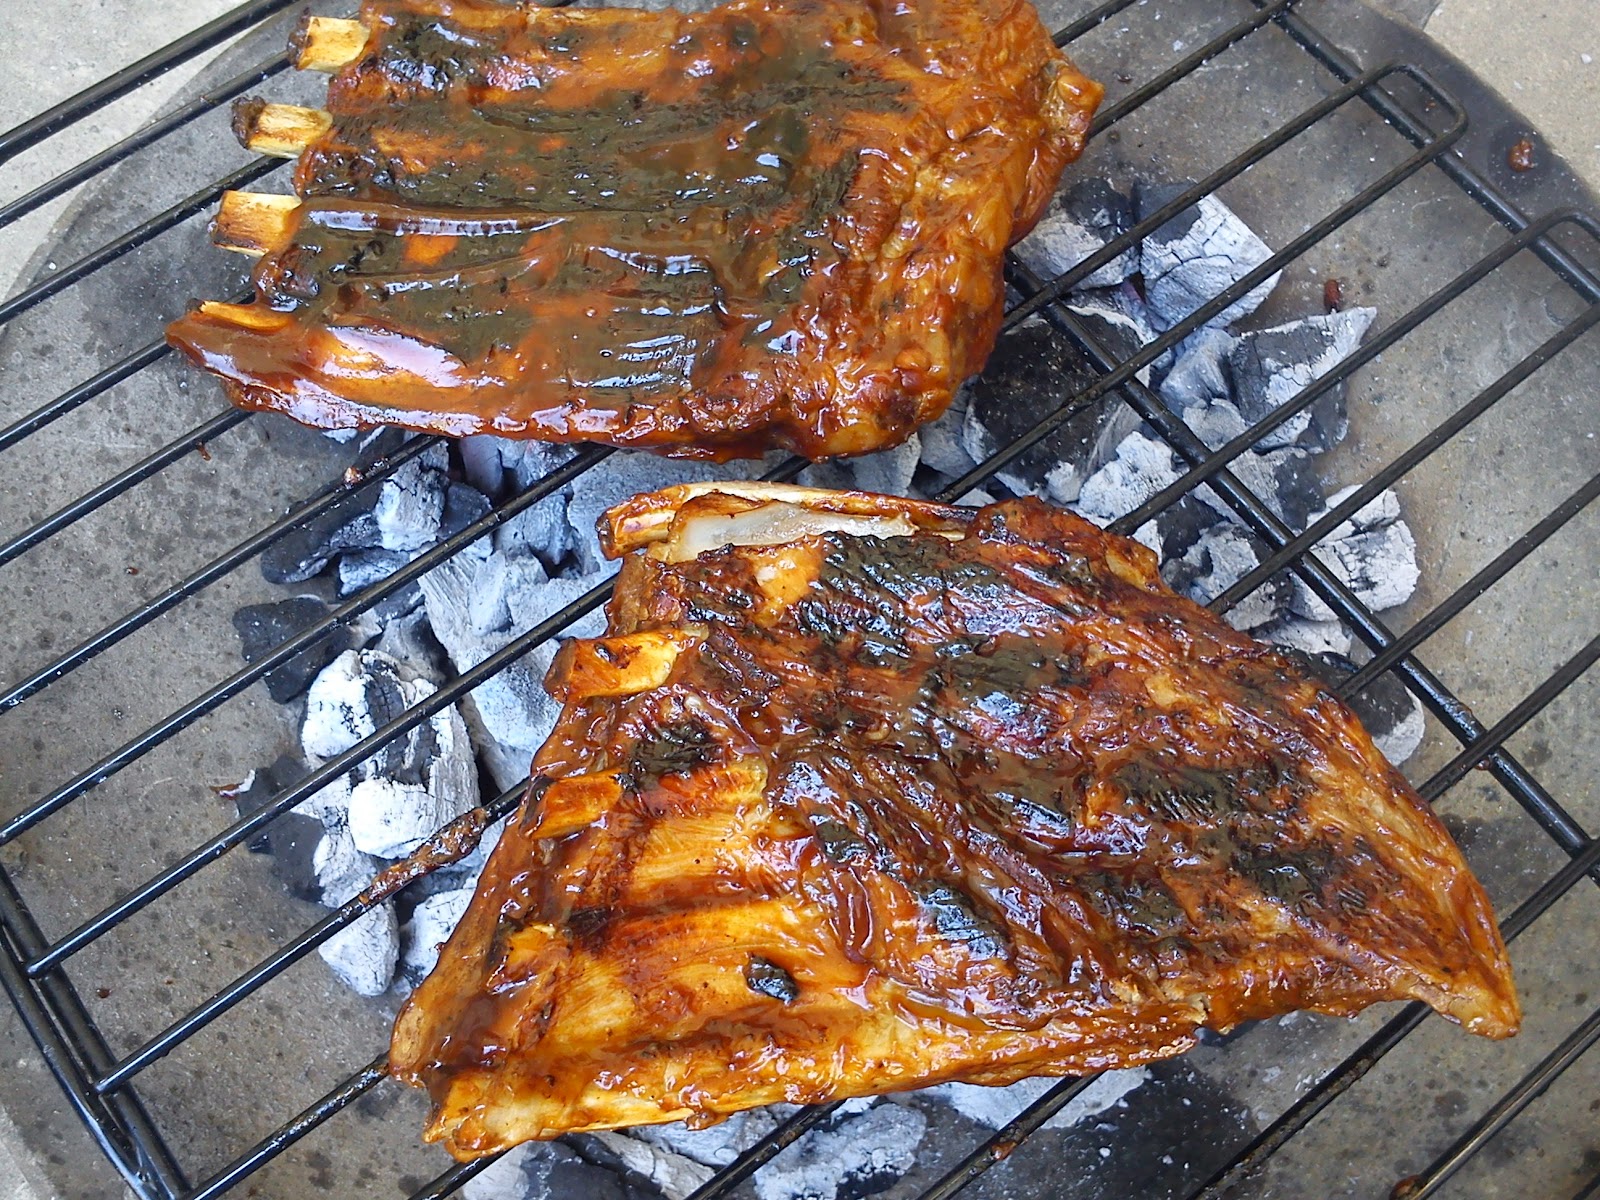
5. Around 30 minutes before the ribs are cooked you can start firing your charcoal for the next step: grilling them to perfection!
6. Once the timer is done, you can take the ribs from the pan and place it on a plate to drain any excess water. Go hefty in the sauce this time as you brush both sides before placing them on the grill. You would want a caramelized ribs after 8-10 minutes for each side. Once you get a small amount of char and wonderful caramelized coating, then you are good to go!
7. Eat with so much gusto and enjoy this with rice or mashed potatoes. Your choice.


Social Plugin